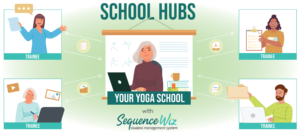
In Sequence Wiz School hubs, you can assign your trainees to different training programs so that they have access to different sets of files.
Step 1: Add new programs to the list of programs. Set dates for the program duration.
Step 2: Assign your trainees to programs.
Step 3: Assign files to programs.
Step 1: Add a new program to your list of programs.
To do that, go to MY ACCOUNT > SCHOOL and click on Programs. Click on the plus sign to add a new program.
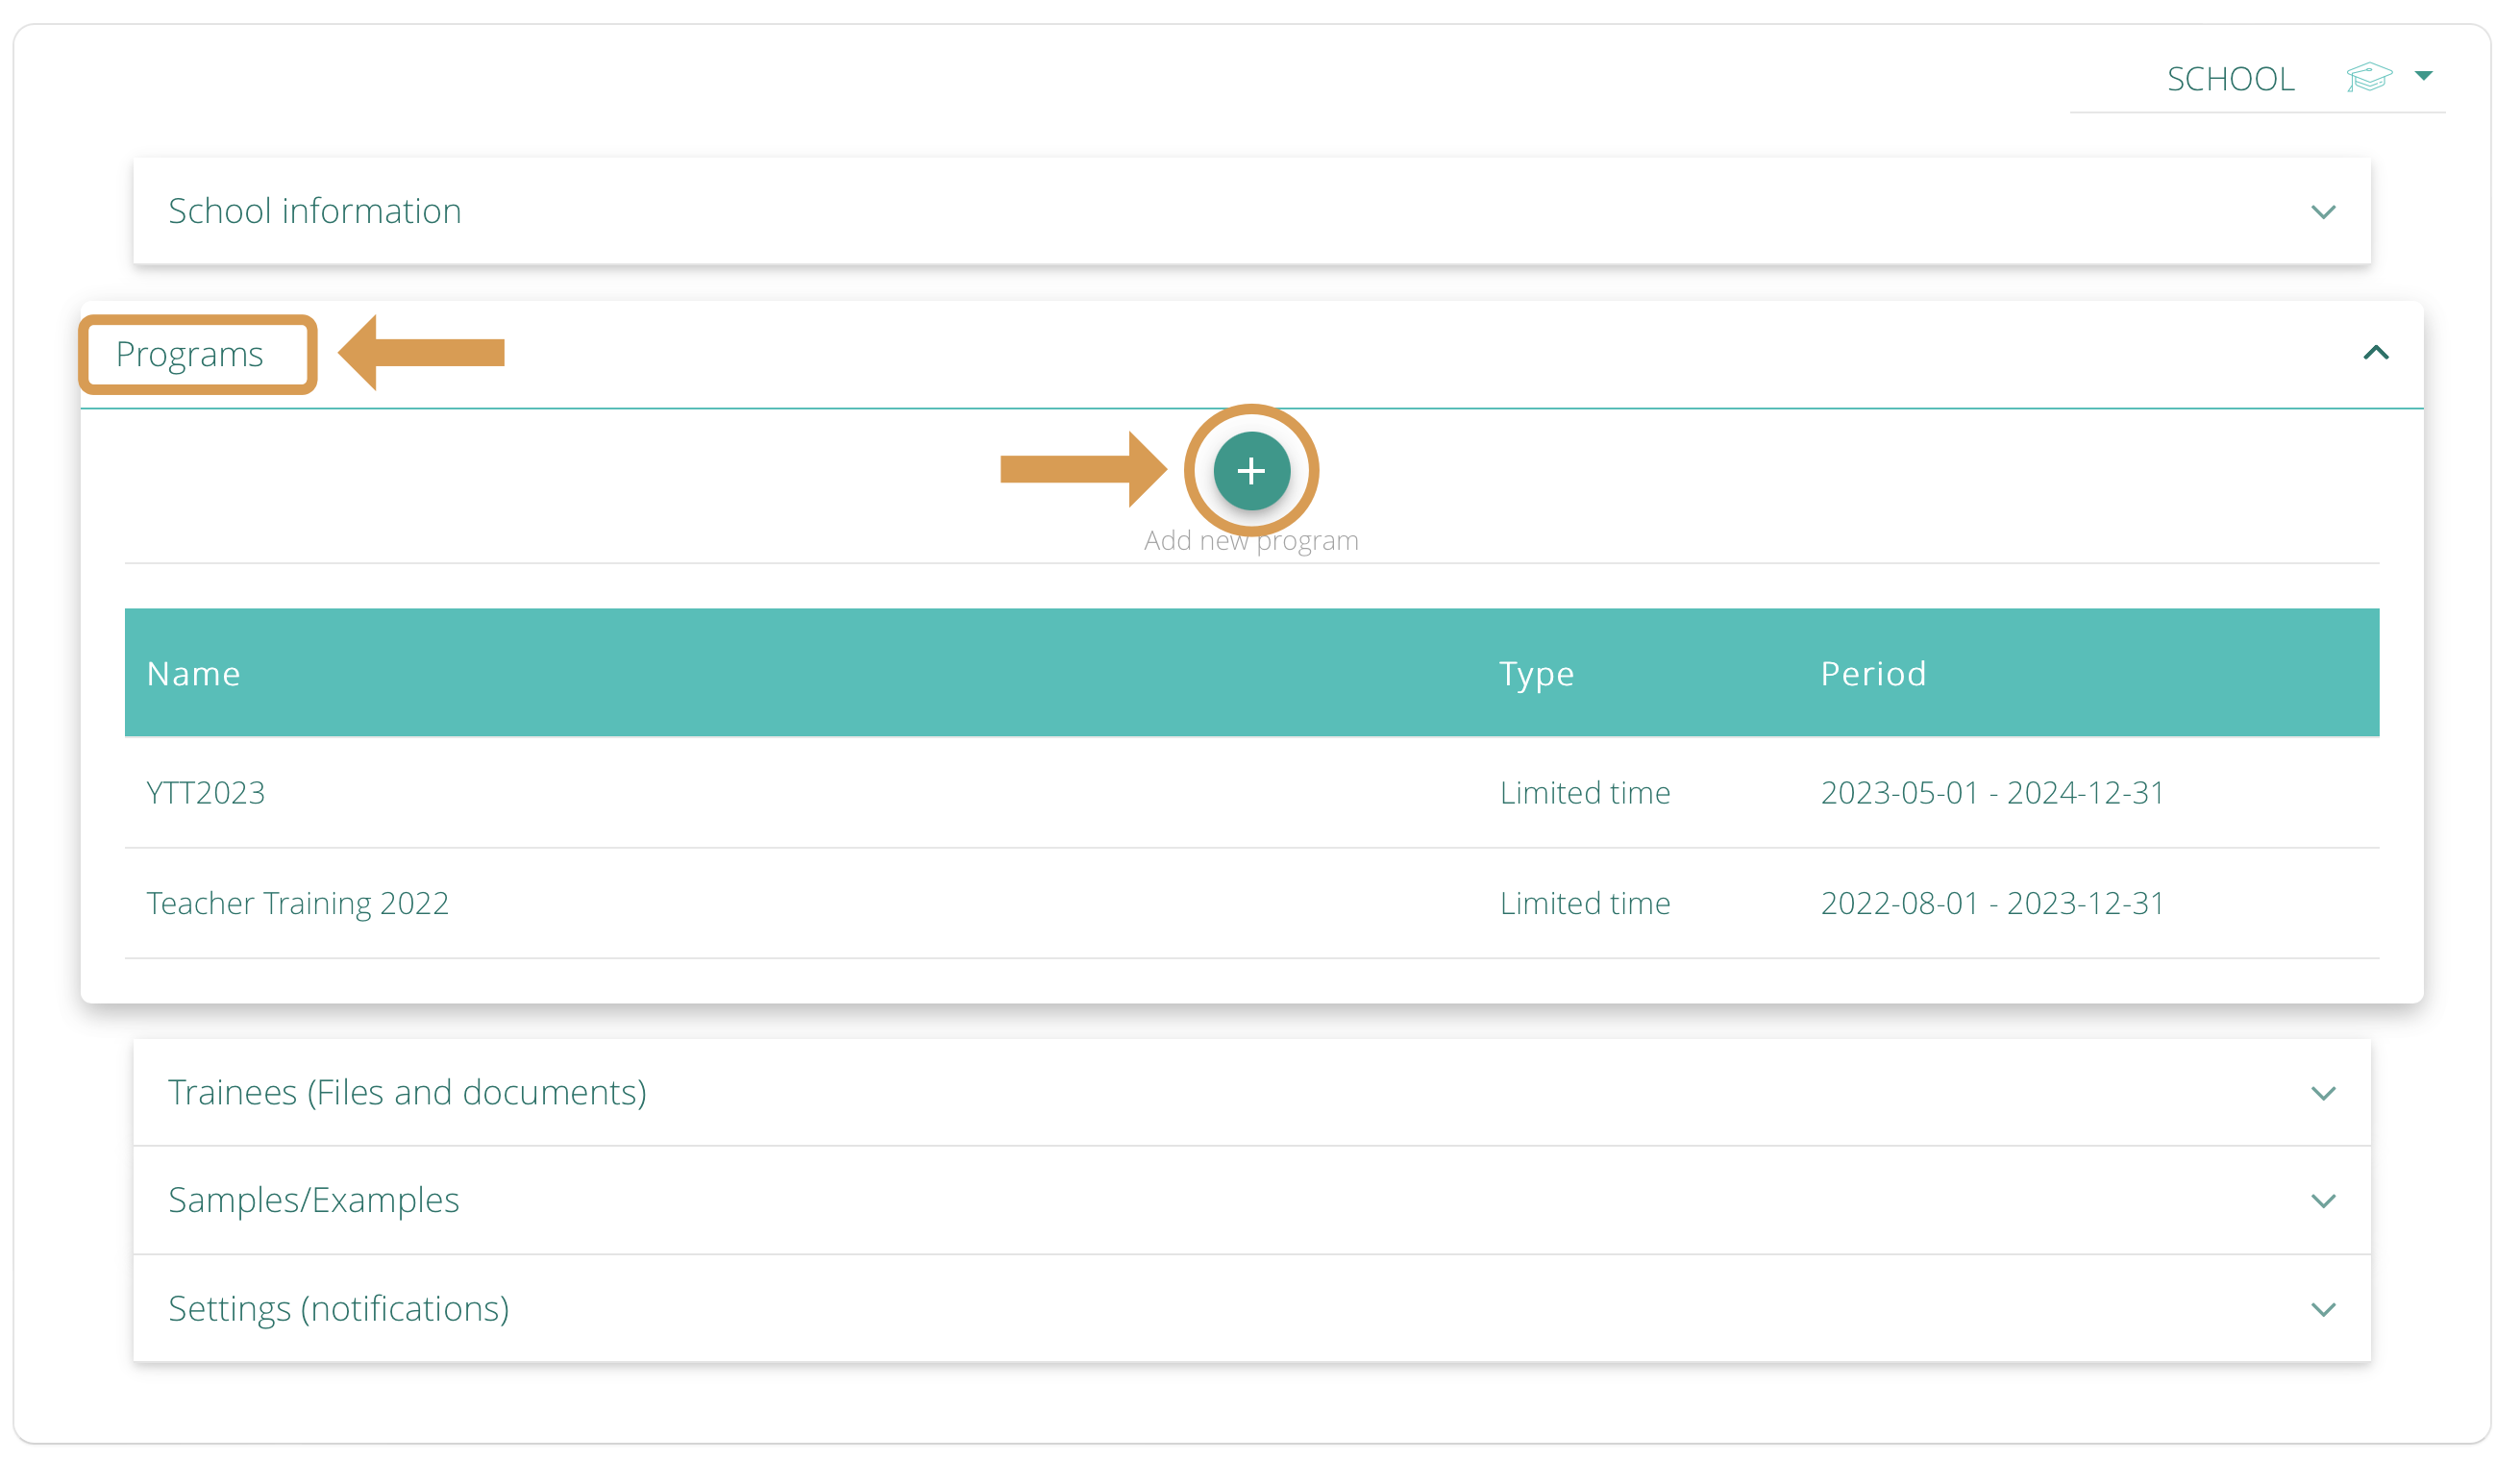
Type the name of the program and select if the program will have an indefinite or limited duration. For limited-duration programs, set the dates. Your trainees will have access to the files associated with this program for this set time period.

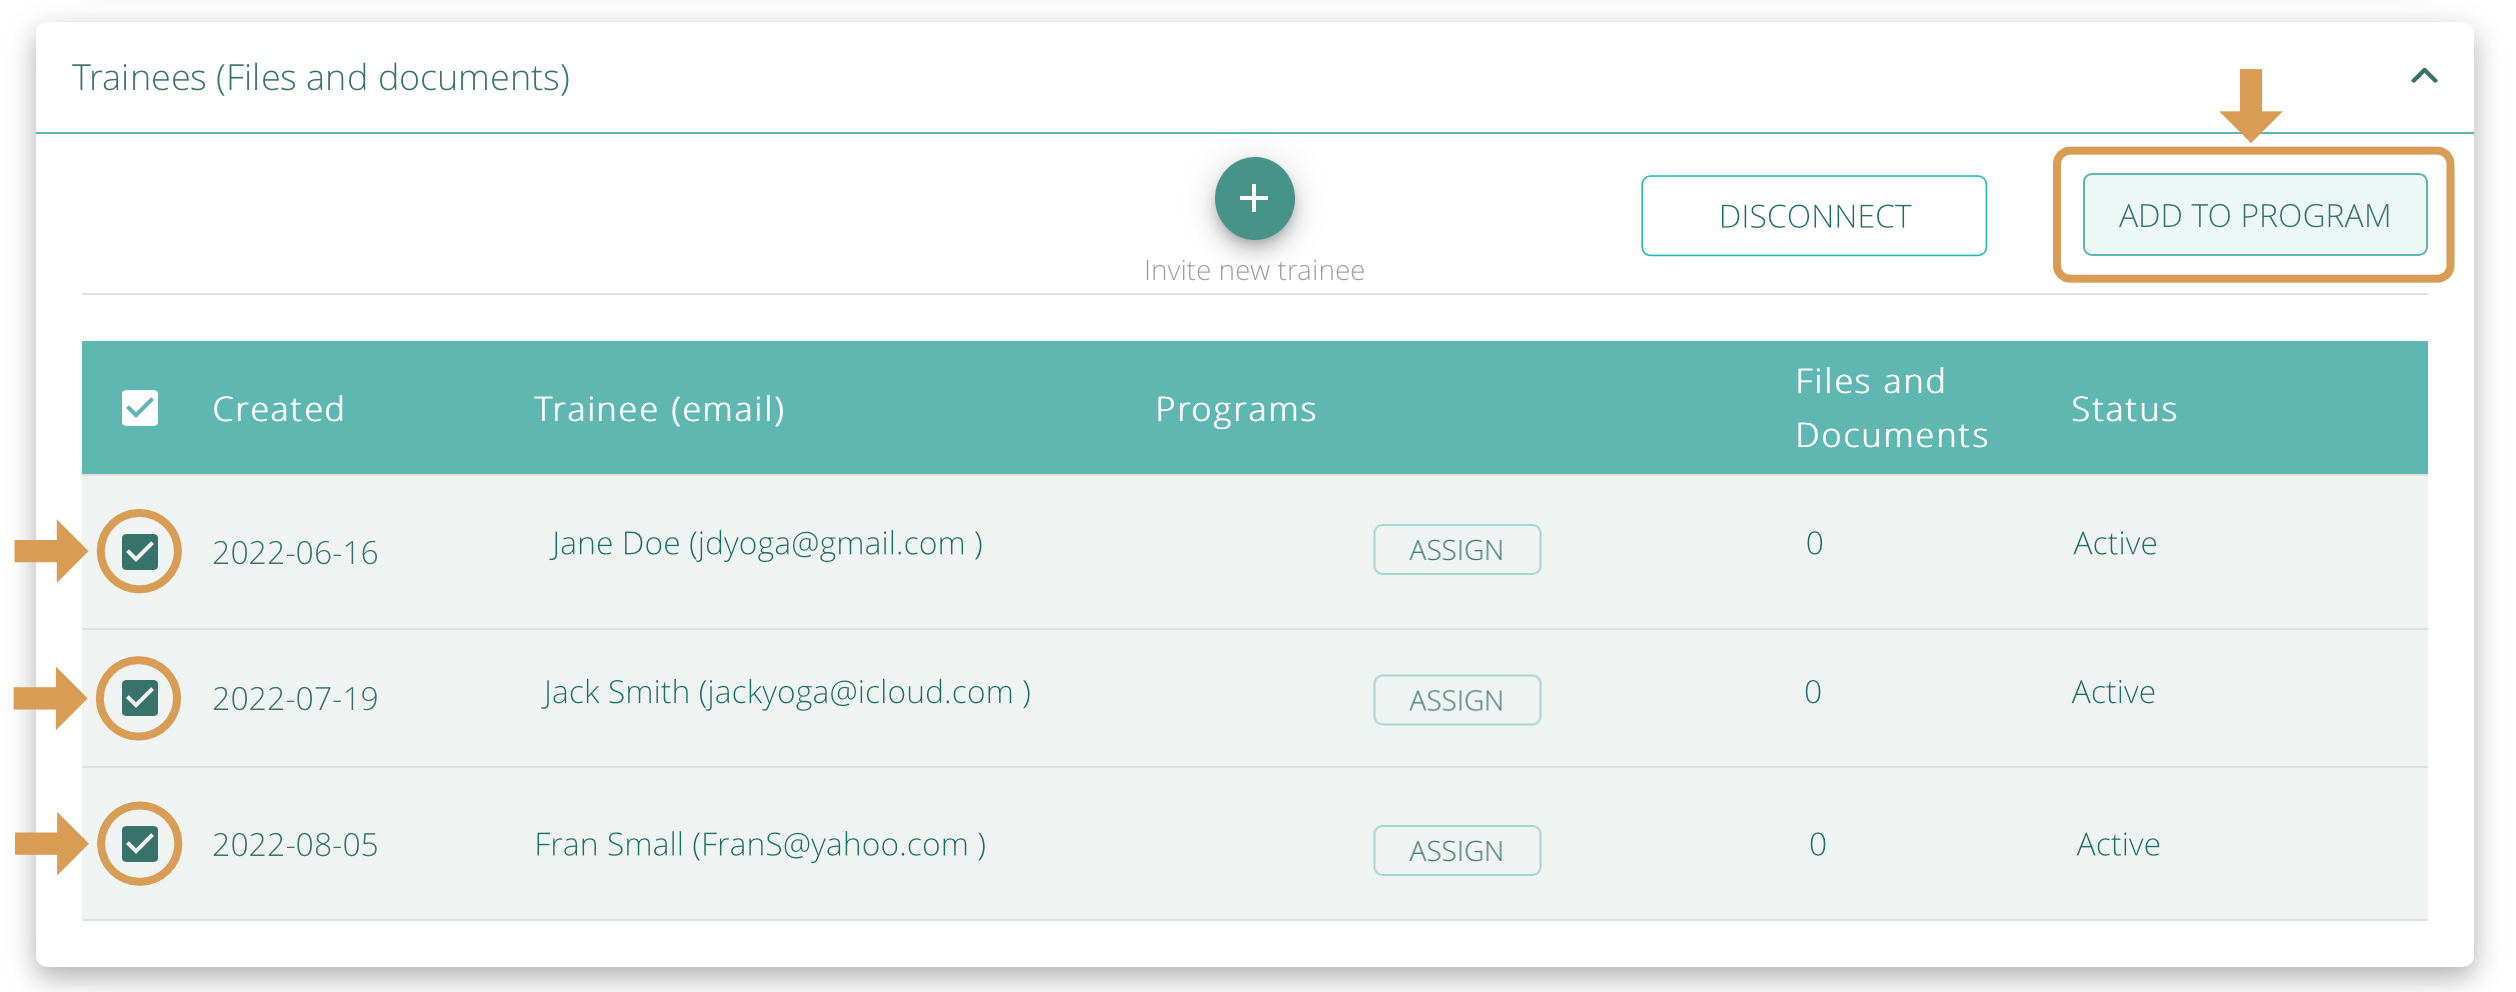
Step 2: Assign your trainees to programs.
You can assign your trainees to program (s) as a group or individually. Go to MY ACCOUNT > SCHOOL and click on Trainees (Files and Documents).
- To add multiple Trainees to a program, select them by clicking on the checkboxes on the left and click ADD TO PROGRAM.
To add individual Trainees to a program, click on the ASSIGN button next to the Trainee’s name.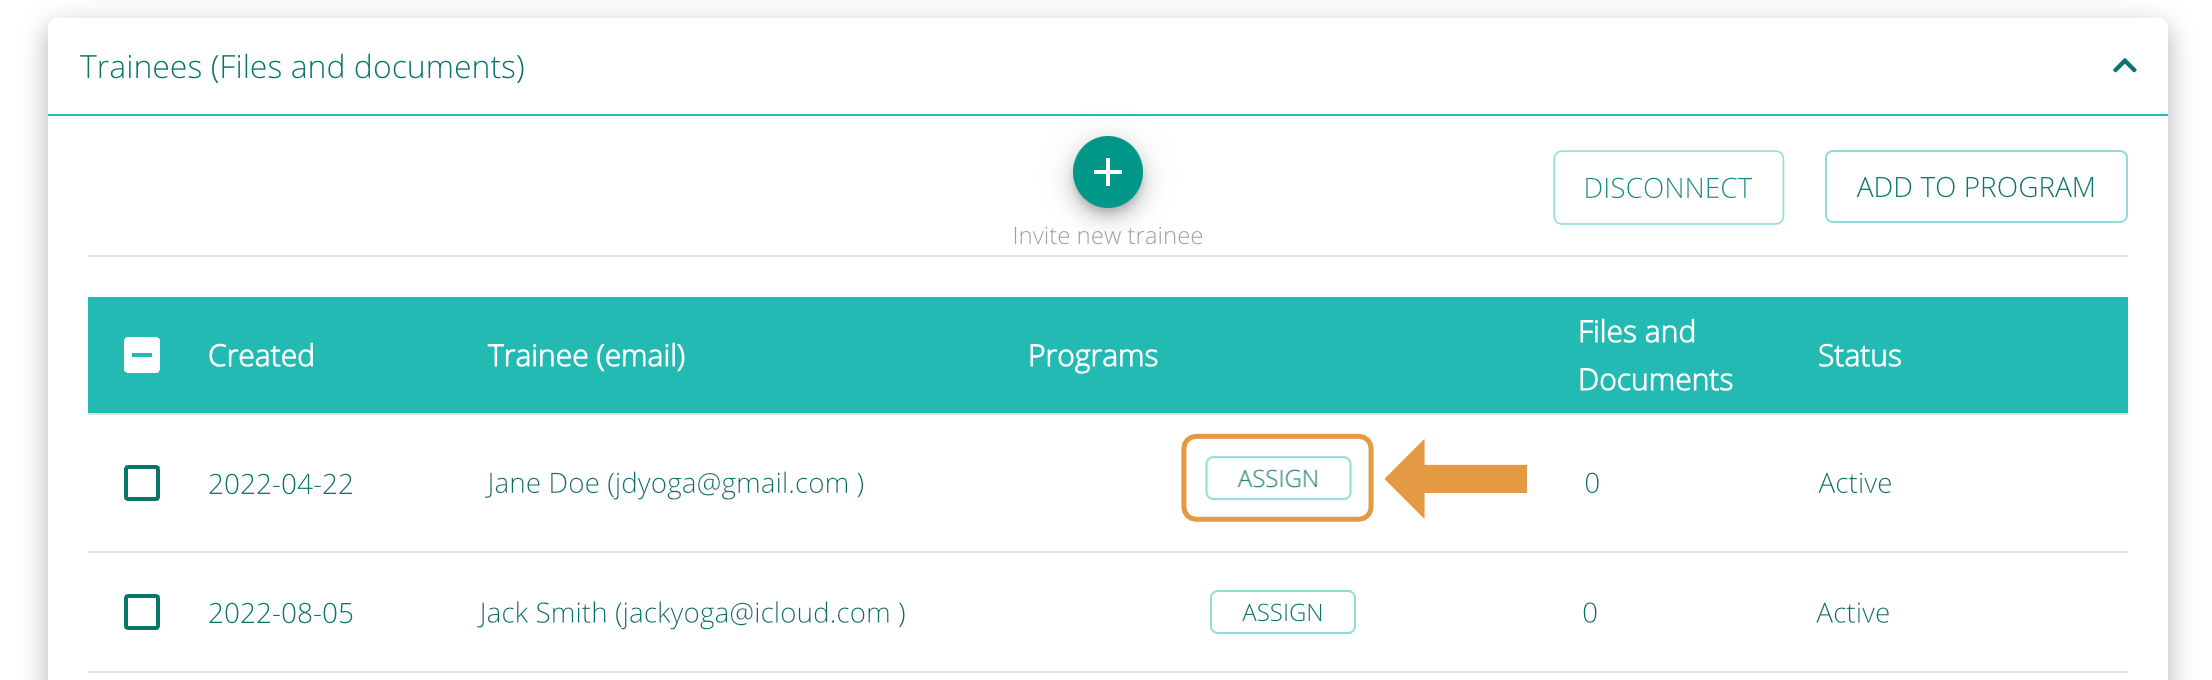
In Assign programs window, select the programs you would like to add your Trainees to and click on the right-pointing arrow. The programs will be added to the list of Assigned programs. Click the ASSIGN button at the bottom to confirm.
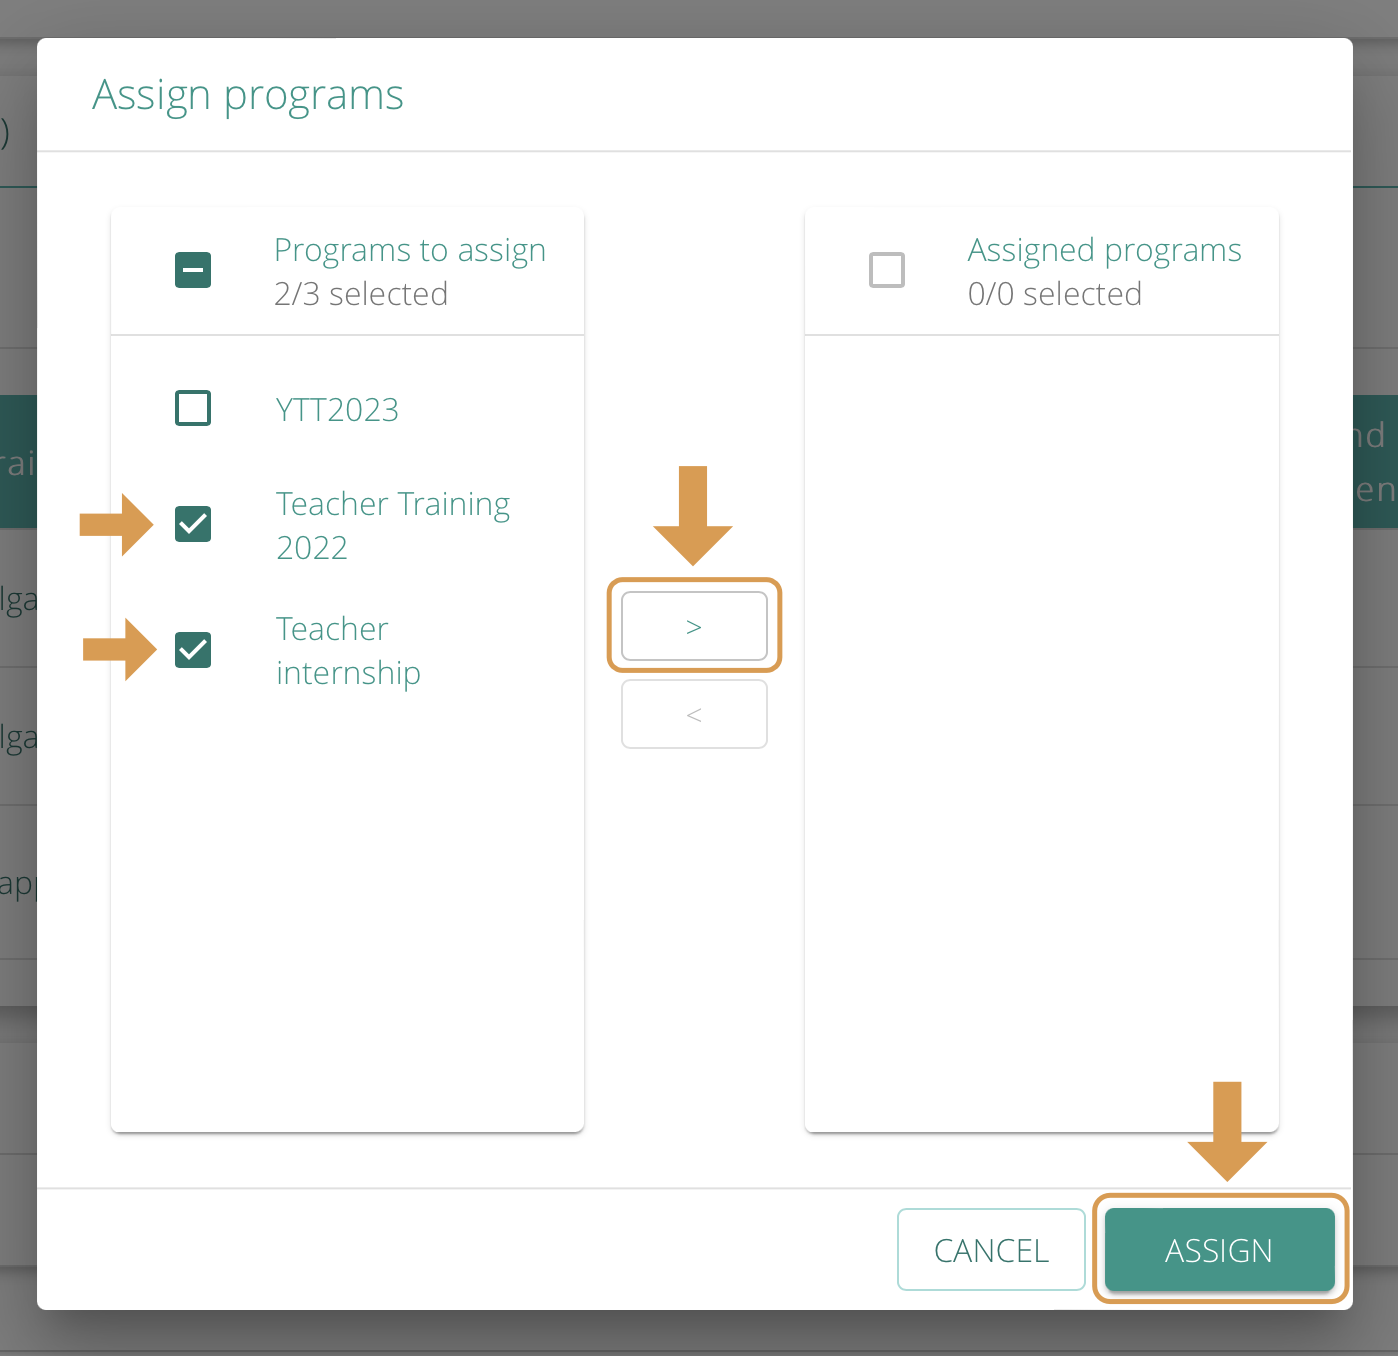 You can always change this assignment by returning to this window, selecting the programs on the right, and clicking on the left-pointing arrow.
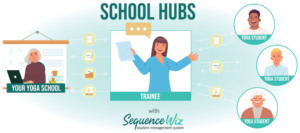
Now your students are grouped by Programs, and you can share different kinds of files with their groups.

Step 3: Assign files to programs.
In Sequence Wiz School Hubs, you can exchange files with individual Trainees and send files to groups of Trainees by Program. For example, you can share one set of files with Trainees in your Yoga Teacher Training and another set of files with Trainees in your Yoga Therapist Training. The files you share with a group are called Samples/ Examples and are stored under their own tab.

To sort files by programs, go to MY ACCOUNT > SCHOOL >Samples/Examples. Here you can add files by dragging and dropping them. Afterward, you can assign files to specific programs.
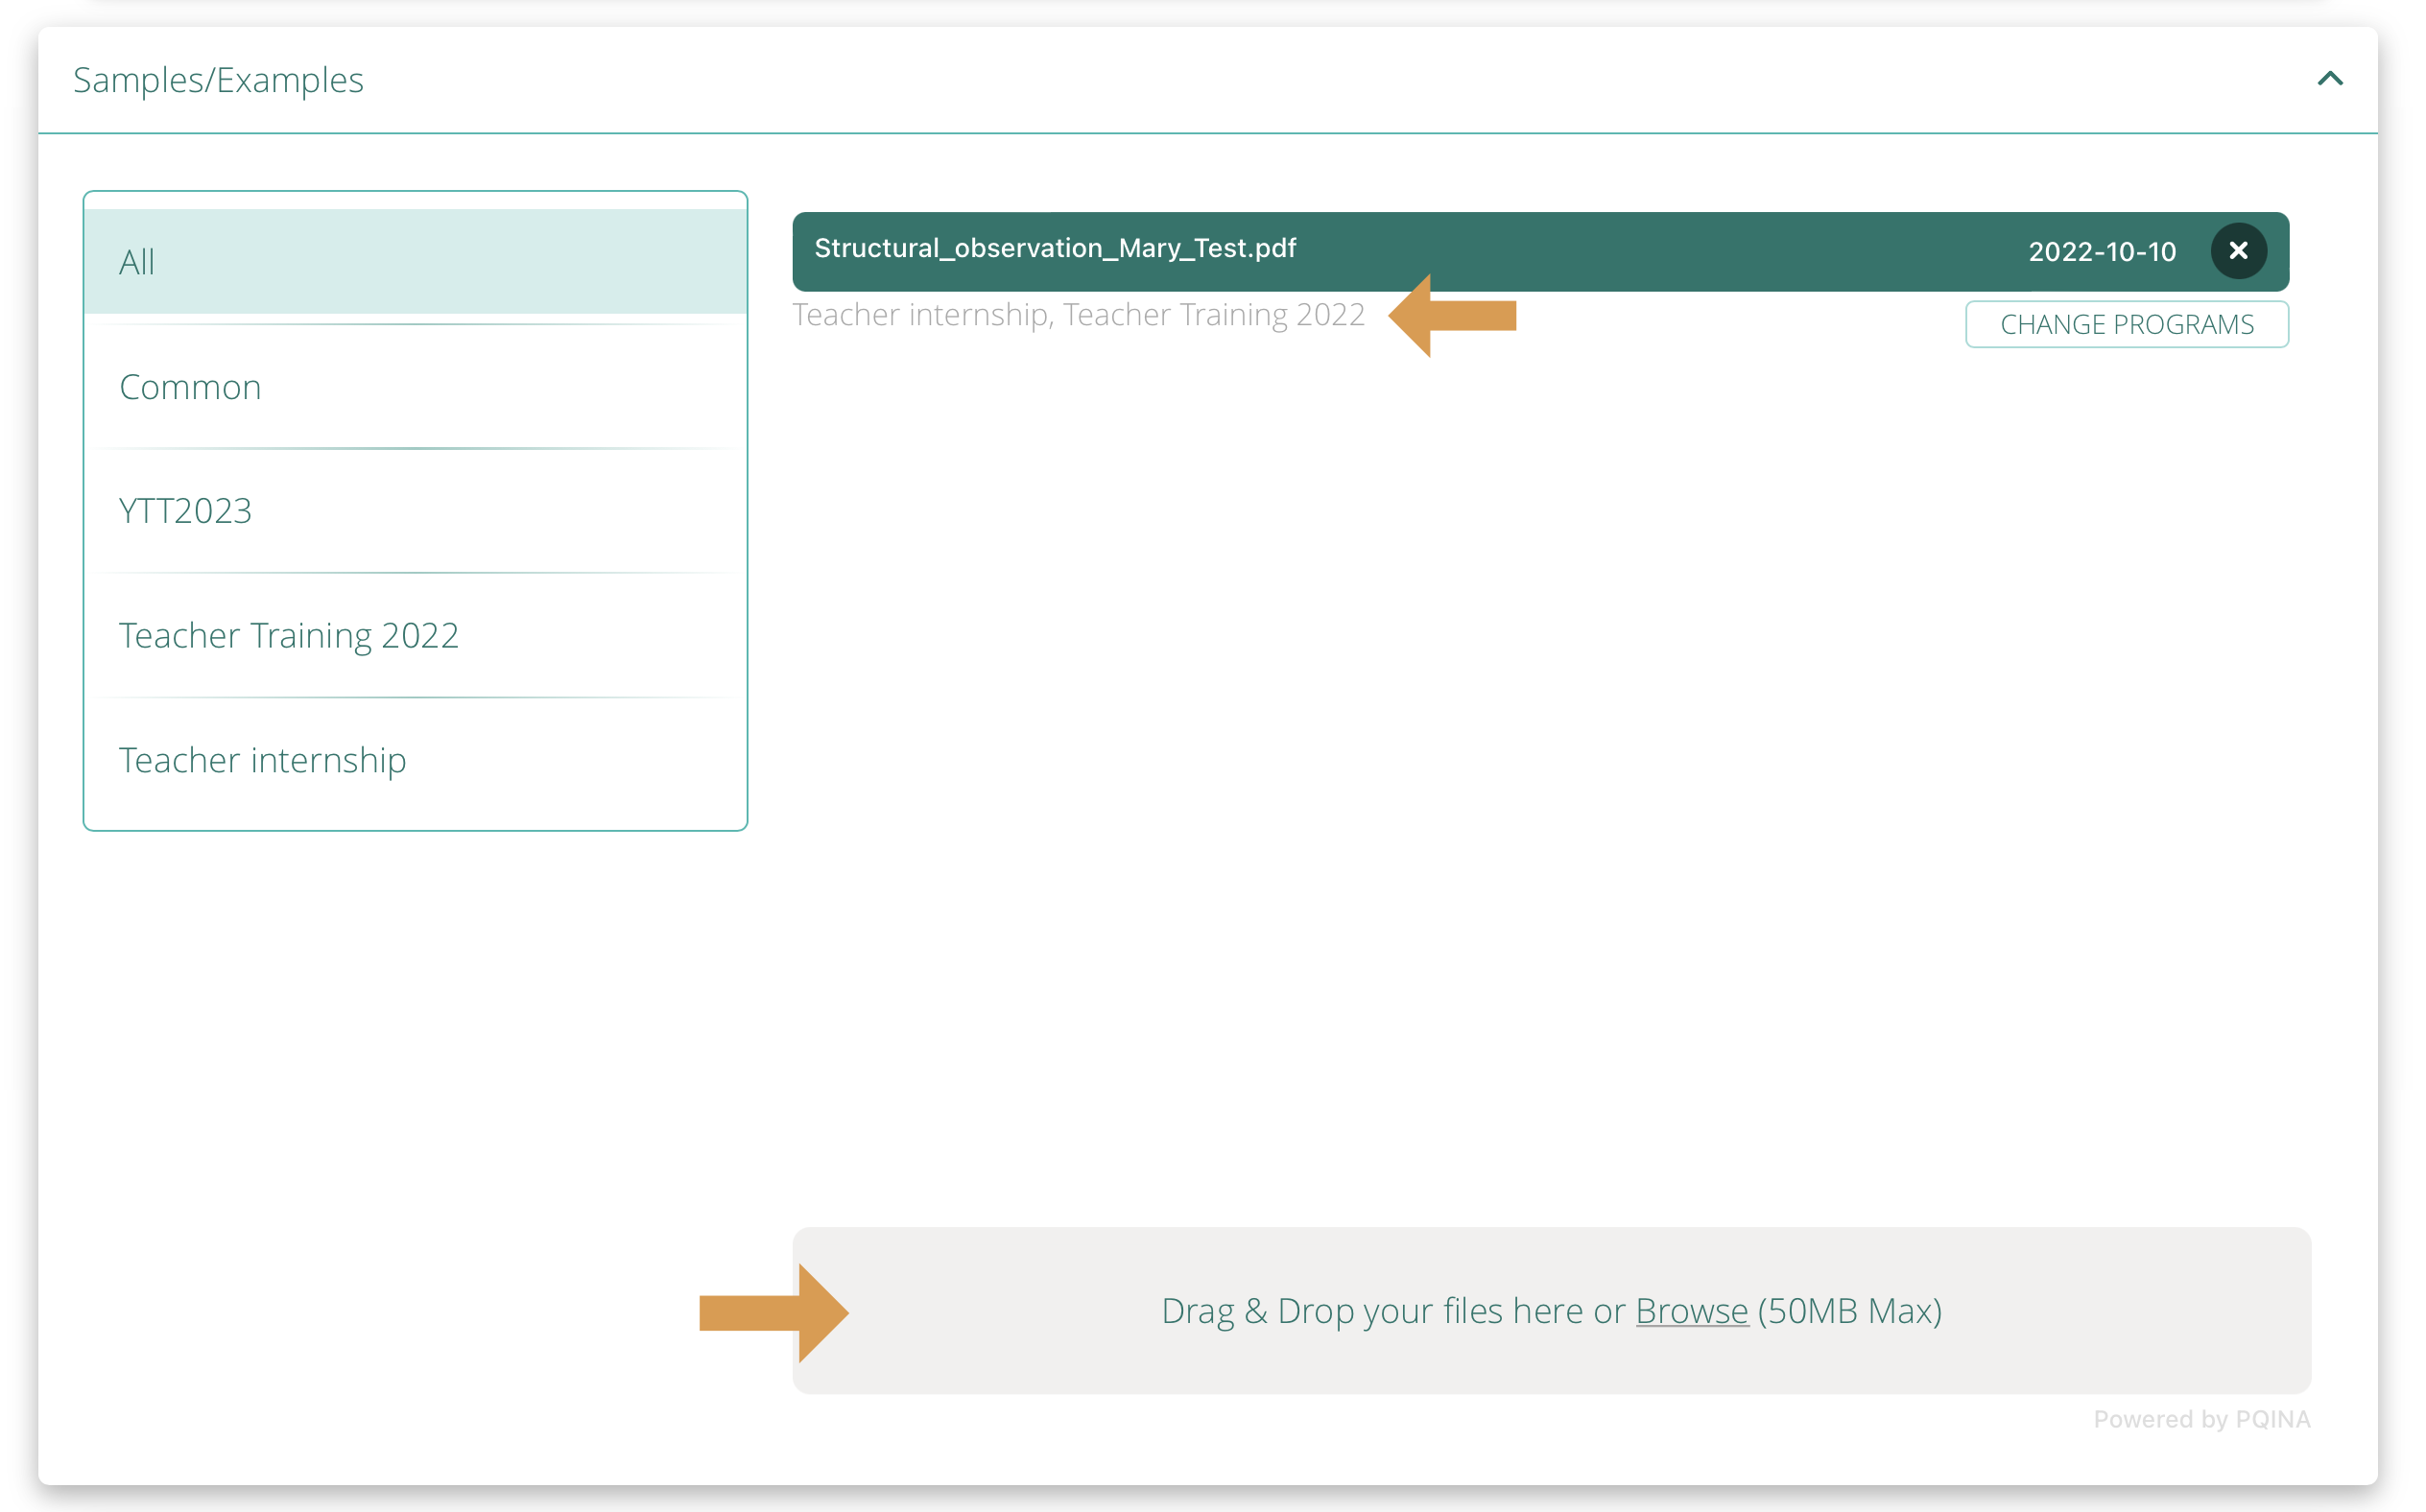
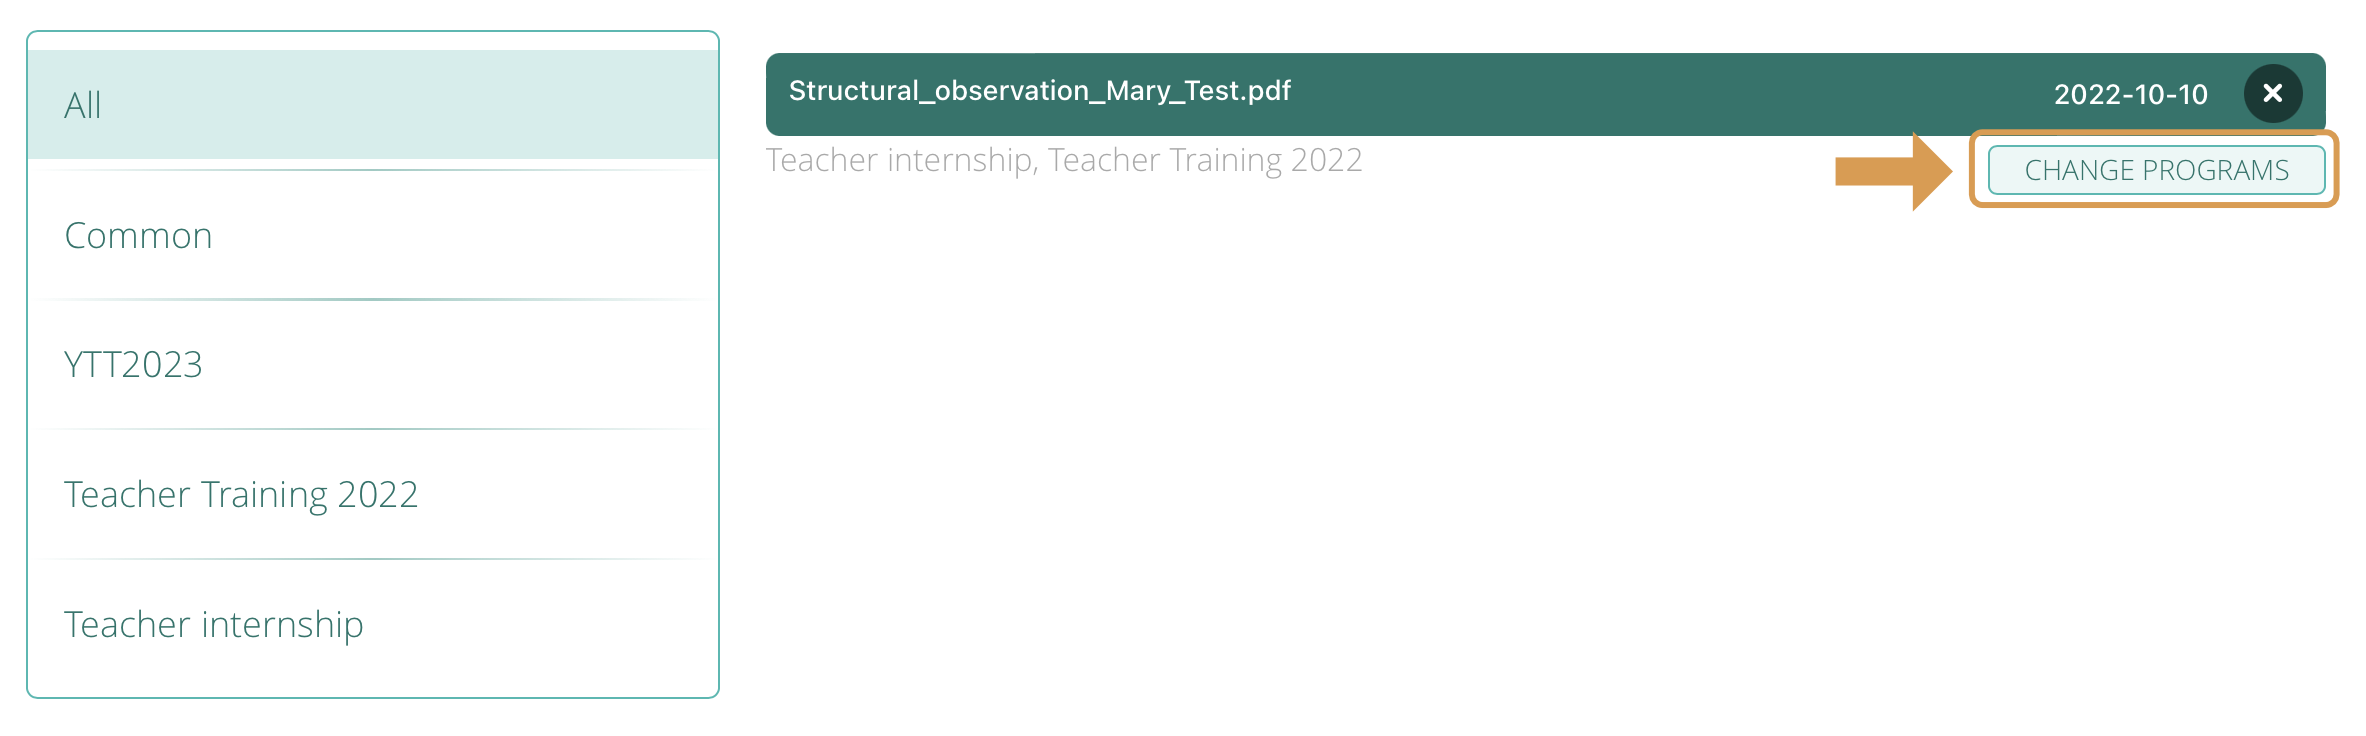
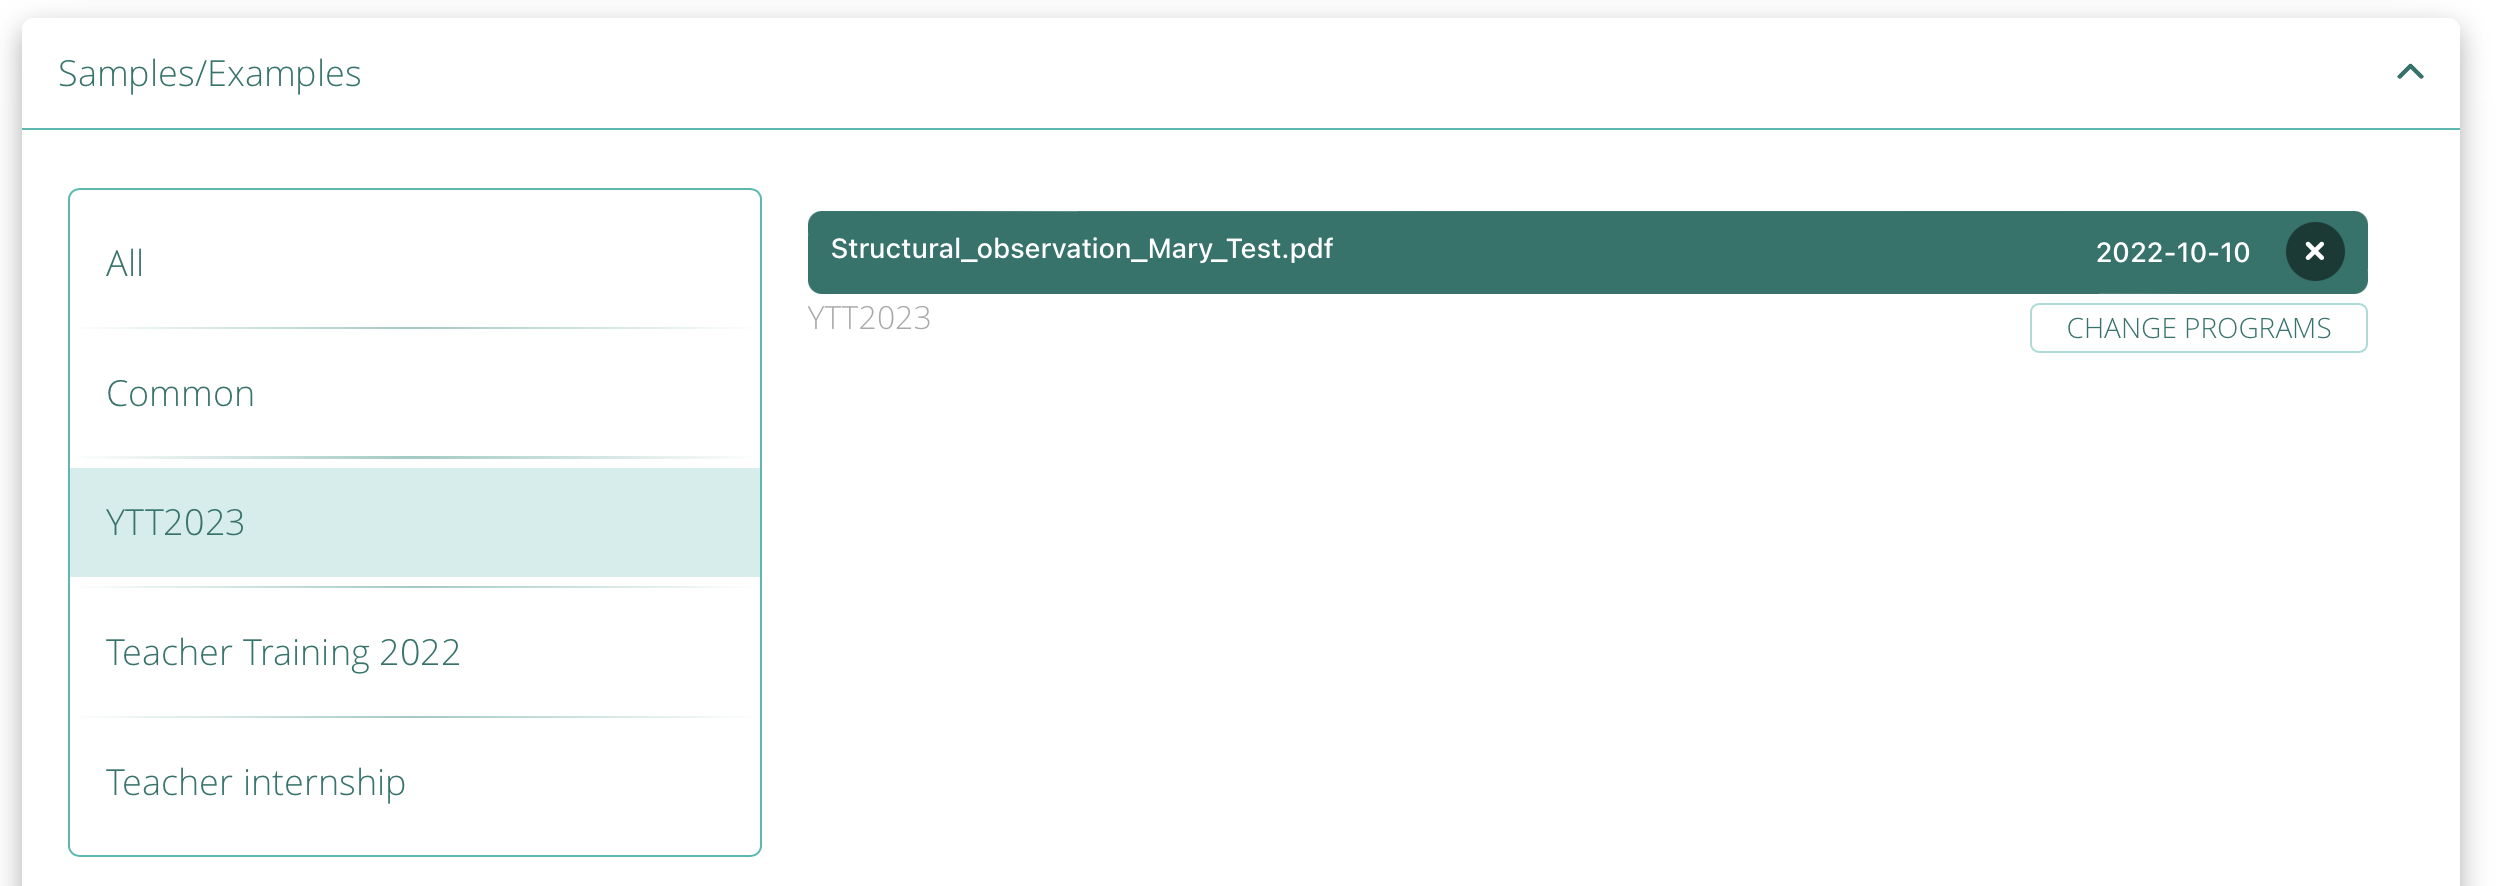
To assign a file to program(s), click on the CHANGE PROGRAMS button.
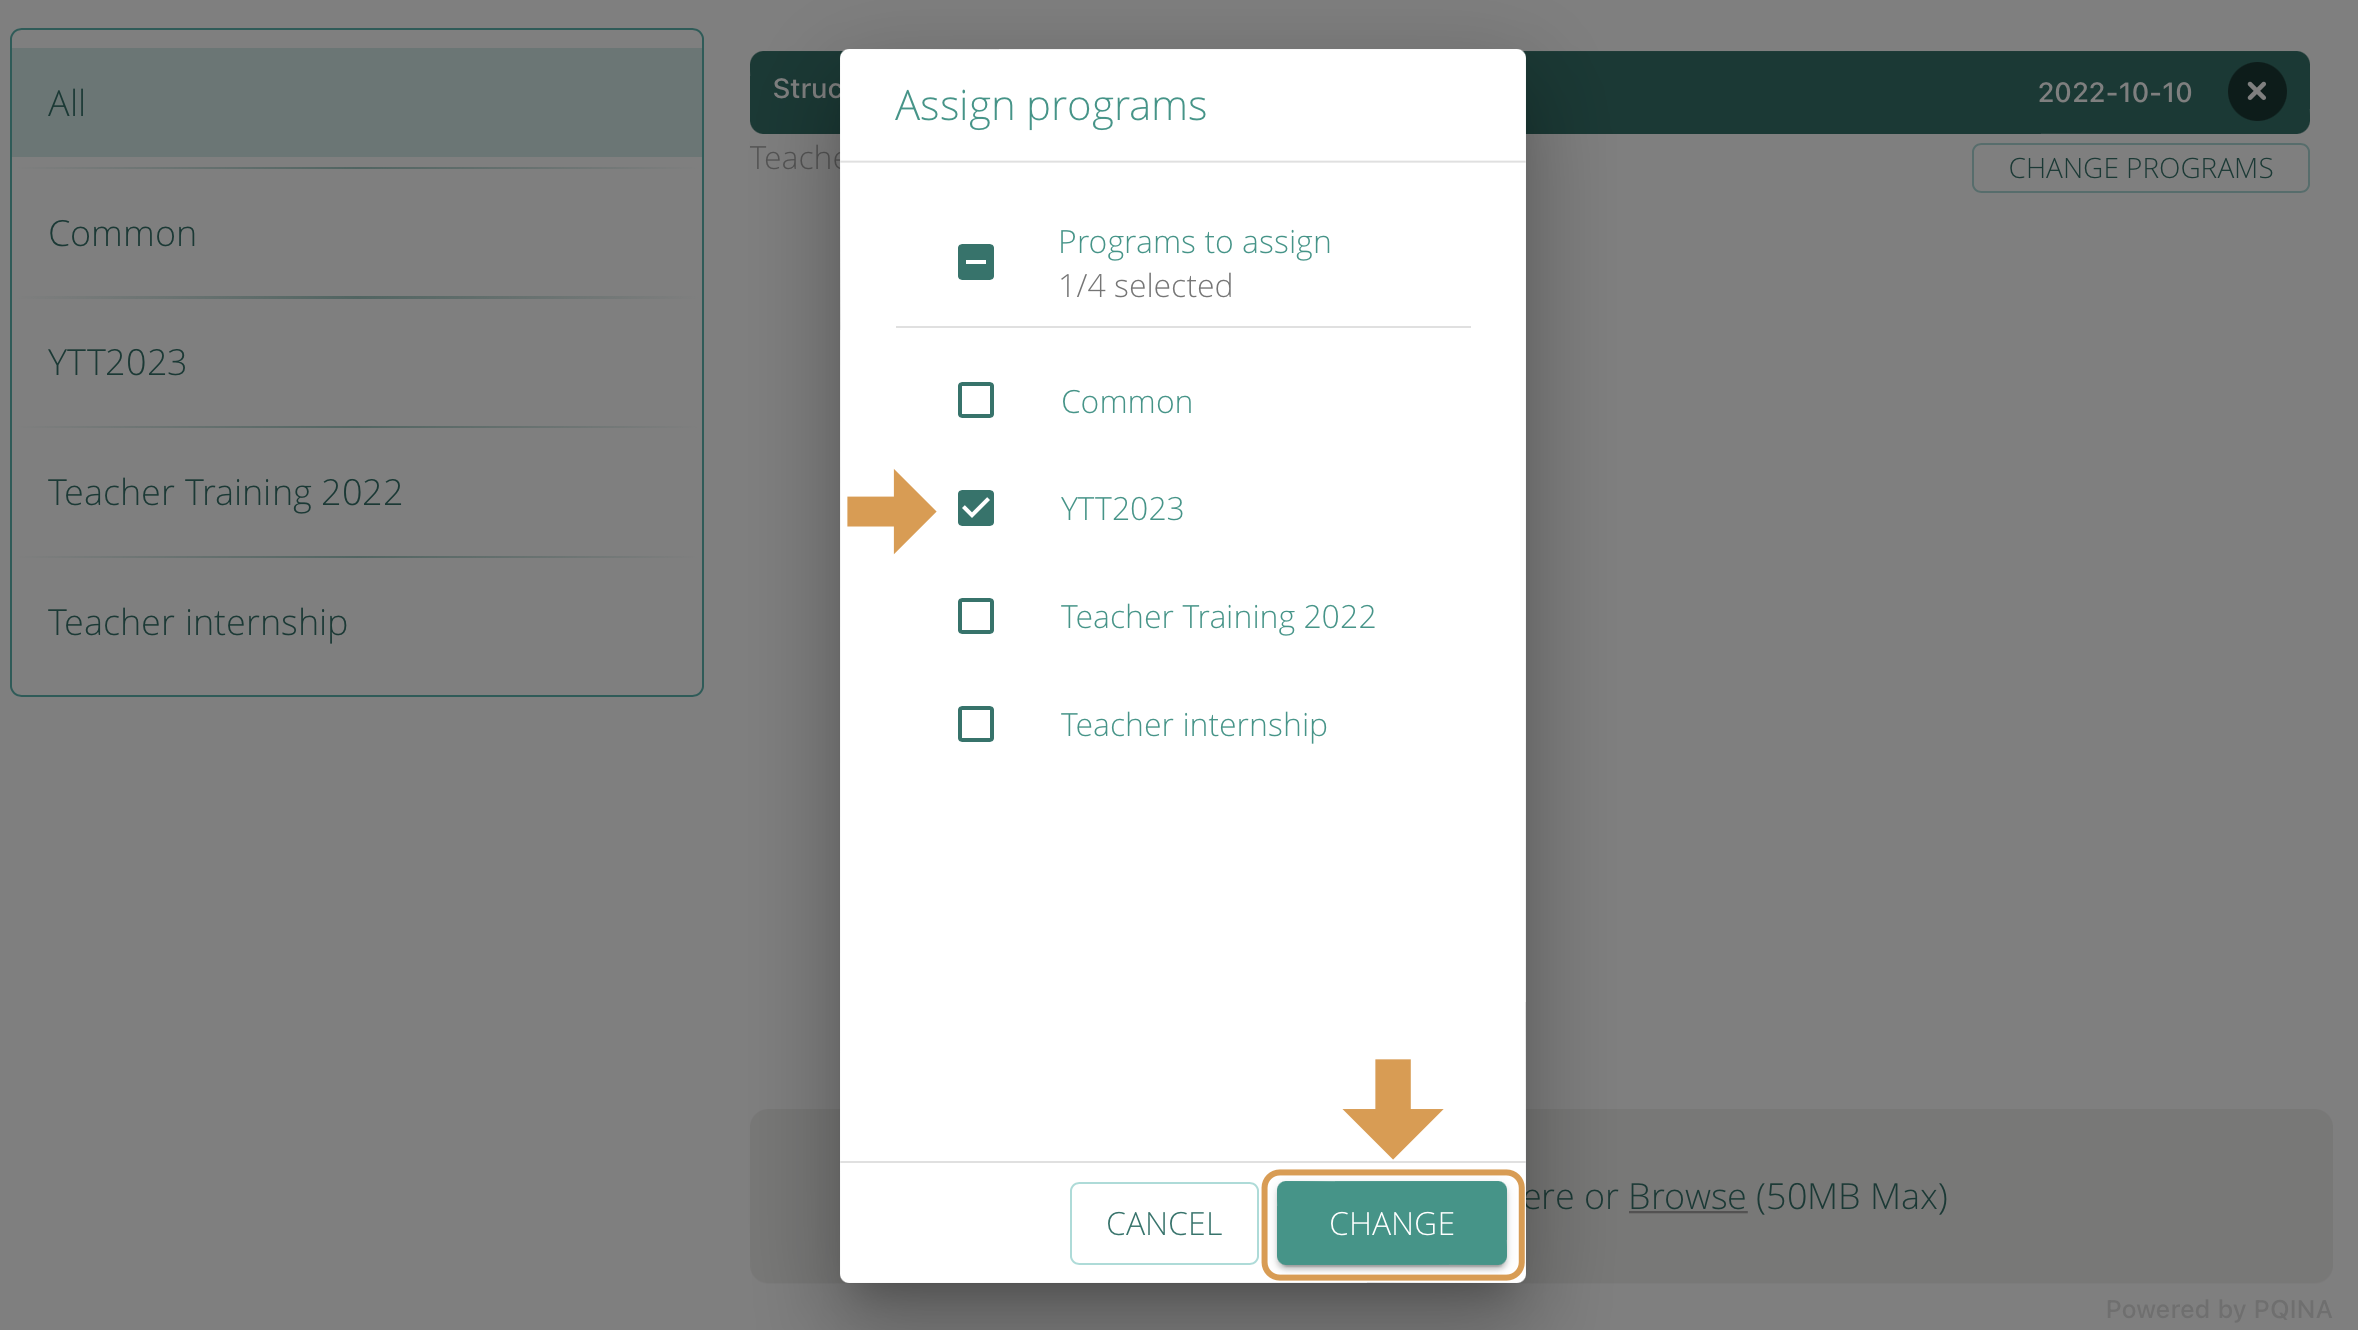
Select the programs you would like to assign this file to and click on the CHANGE button.
Now only the students assigned to this particular program will be able to view this file.
If you wish to store files for later use in one or more programs, you can create a separate program and call it Storage for YTT2023, for example. Then, as the program goes on, you can gradually share those files by moving them into YTT2023.
Leave A Comment?